Hanging Photo Display
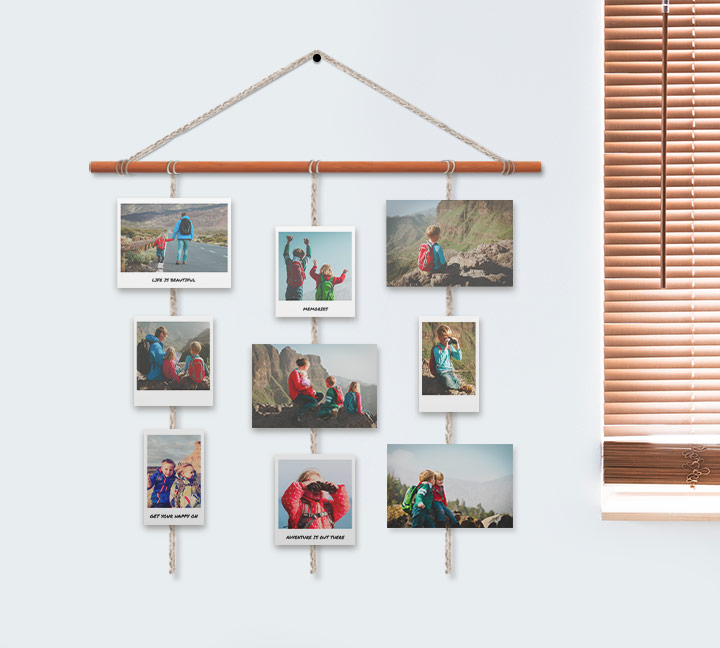
Spending time and making memories with your family is something you should always cherish. If you are looking to compliment a blank wall within your home with those special memories, creating your very own hanging photo display could be a perfect and unique way to do so!
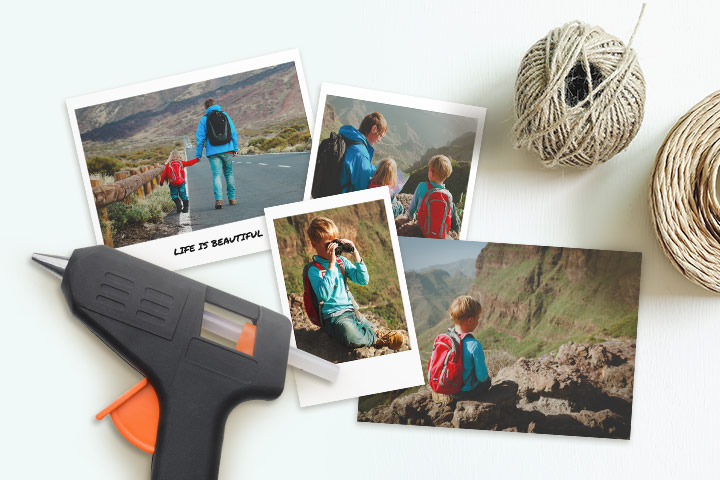
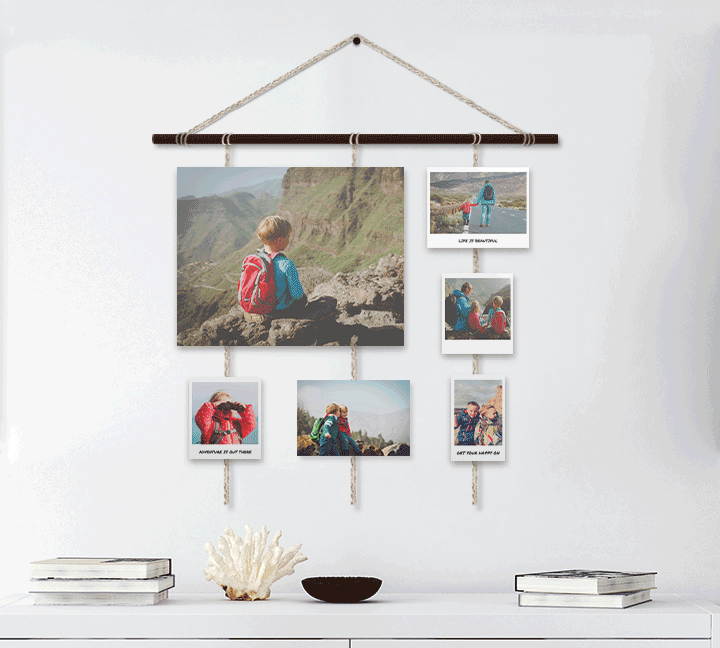
The hanging photo display is easier than it sounds, we promise. All you will need is a dowel, some string, a glue gun and most importantly, some photos! Be sure to visit walmartphotocentre.ca so that you can upload your photos and print them before you begin this project. We recommend using any size Retro Prints, Value Prints and Ready Next Day Prints.
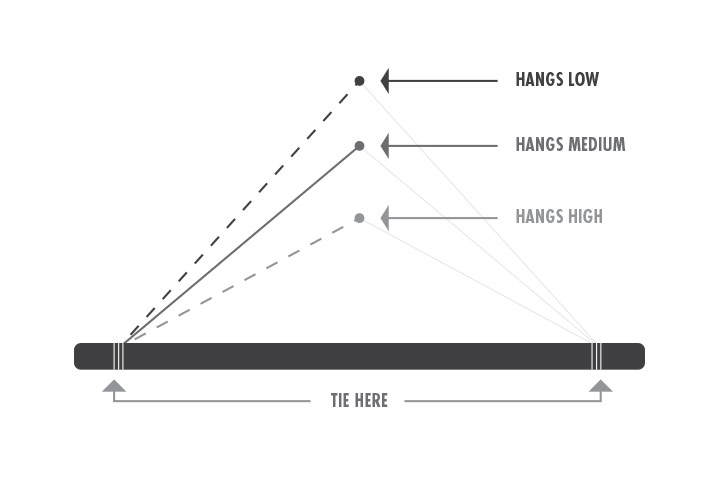
Once all of your materials have been gathered, you’ll want to start by wrapping and tying a piece of string on each end of the dowel. You will want to make sure that at this stage you figure out how low you want your hanging photo display to drop. Use the glue gun to reinforce the knots on the string so that they don’t unravel in the future.
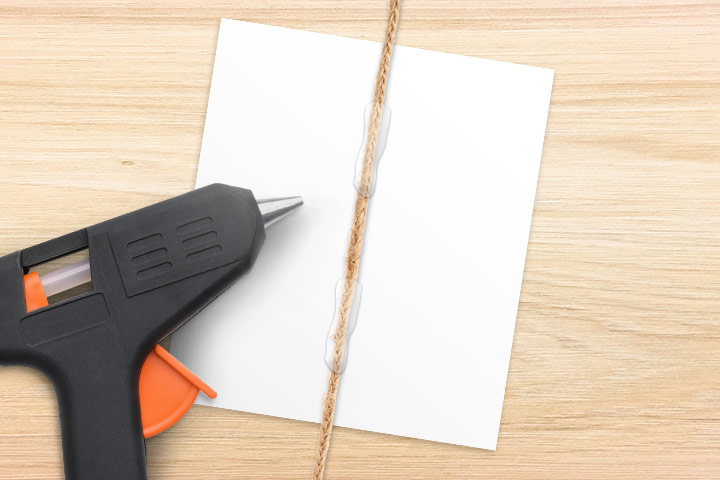
Next you will want map out how many rows of photos you want on your hanging photo display. Get creative and try out different layouts using a variety of different sized prints! Once you have that number figured out cut the pieces of string at your desired length, take your printed photos and glue them onto each piece of string. Tie each end of the string with a knot onto the dowel and use the glue gun again to reinforce the knots on the string so that they don’t unravel.
Once everything is finished and all your photos have been placed, take your hanging photo display and choose a location within your household to show off your new creation!